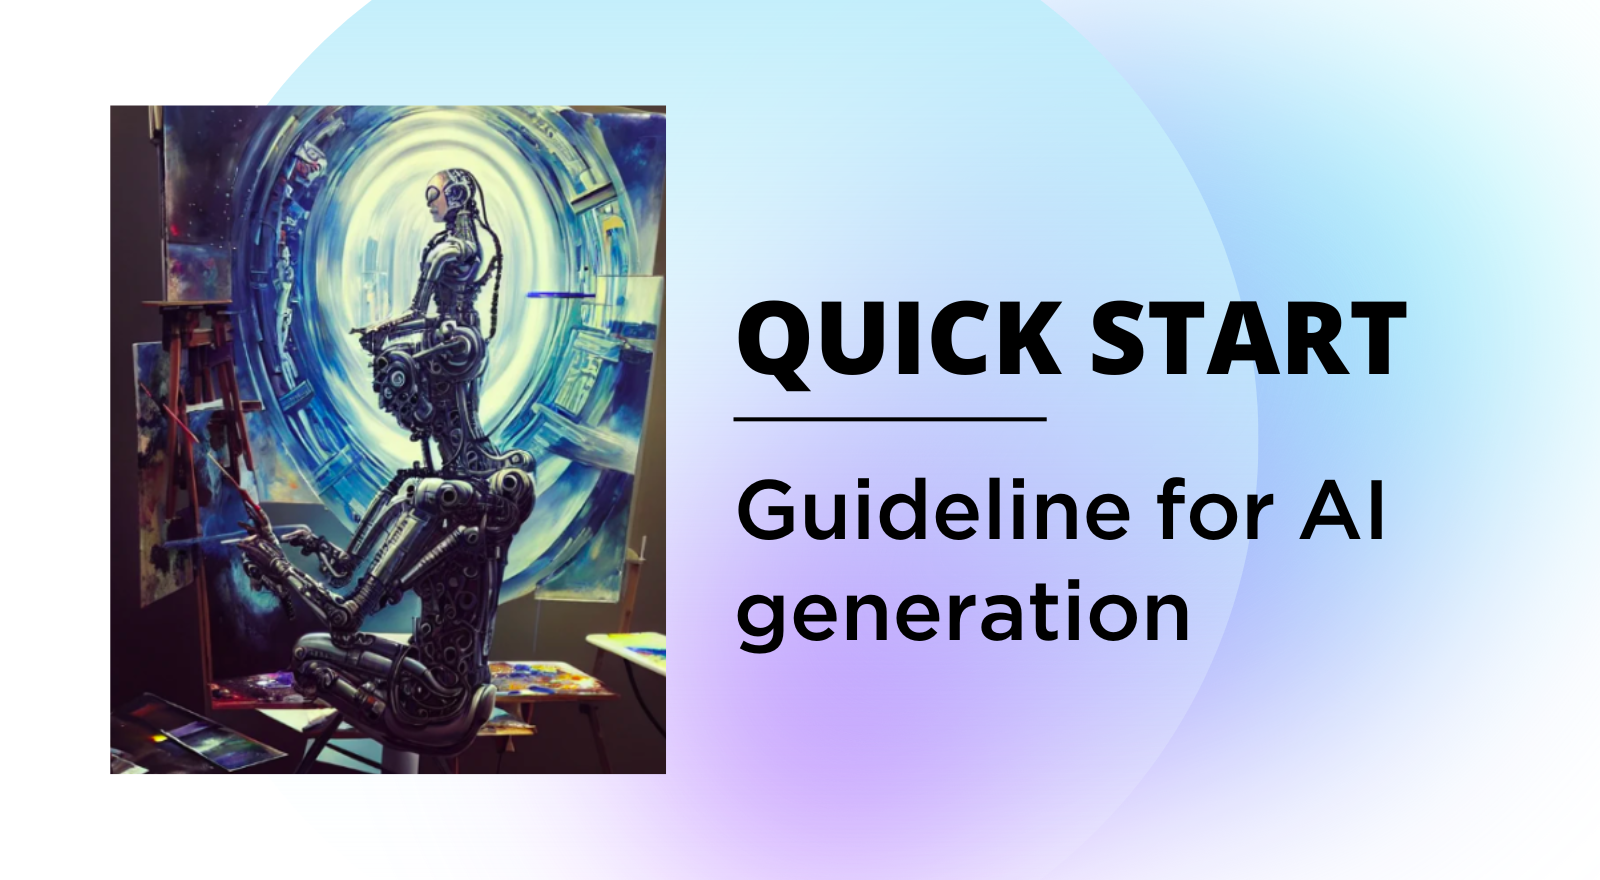
Quick Start | Guideline for AI generation
This tutorial will explore using Pixta AI Imagen and both of its AI engines individually to help you get acquainted in no time. Using Pixta AI Imagen (PAI), an ai generator app, is easy… or it will be once you’re done with this tutorial 😉
Our goal with PAI has always been to make AI Art generation as easy as possible for creators. Thus, our hope is once you get acquainted with the workflow of the ai art generating app, it becomes a seamless, stress-free journey for you to render beautiful creations.
In this tutorial, we will explore using both of our AI engines individually to help you get acquainted with them in no time.
Generating Images in many steps
PAI is a strong tool for creating graphics with multiple phases. People can begin with the Init phase, which uses input prompts or/and an image to create photos. Then, in the Edit phase, inpainting and outpainting re-draw or extend the contents on specified portions of the created photo. In the final step, the Post-processing phase provides a tool for upscaling the generated photos.

Initial phase
Text2Image
The first step is to think about the prompt. Consider how you would describe the image to the AI when entering the prompt. You can make this as abstract or as literal as you want. Our service assists you in brainstorming better prompts with prompt suggestions.

Text2Image feature with prompt suggestion. Inprut
Image2Image
If you have a pre-defined idea about what to generate, you can feed the AI engine a starting image to work with. This gives the AI a starting point for determining which layout/content/semantic to use. We highly recommend using Image2Image with parameter tweaking for the best outcomes.

Edit phase
Image Variation
It will assist you if you want to have similar content or semantics of a photo. Upload your image, then go to the Edit Phase, select Image Variation, and generate comparable photos.

Inpainting
You can modify any parts inside the image after uploading or producing it. Mask favorite parts with the brush tool, then press the generation button.
Outpainting
Outpainting, as opposed to Inpainting, can be used to extend the outside region of a picture. If you are a patient person, you can draw the image indefinitely 😉

Post-processing phase
You can use PAI to upscale blur photos or even HD quality photos up to 8 times dimension. Upscaling is easily used in the Post-processing phase to get high-resolution photos.

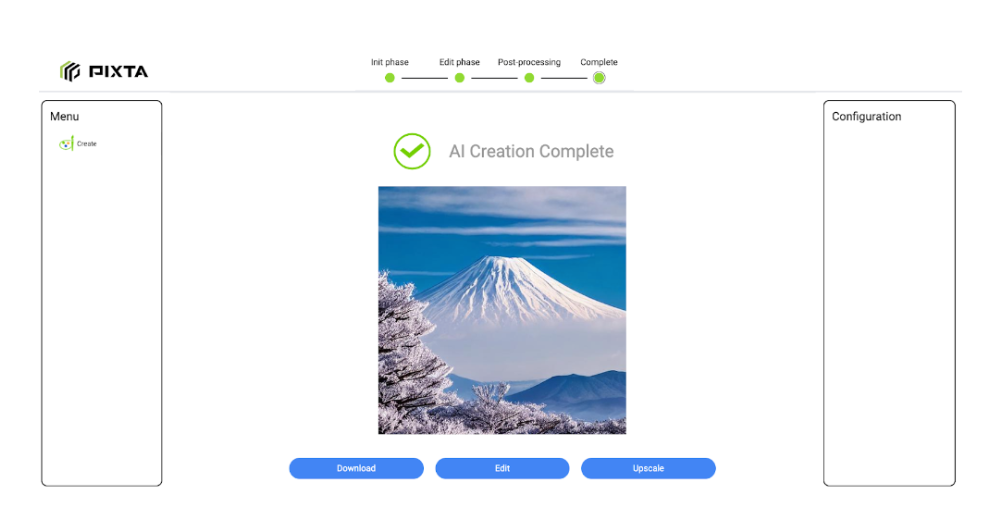
Complete phase
At this phase, you review the final results and can re-edit the result with our utilities.
Empowering UX in creating arts
Prompt suggestion
Good prompt makes good result.
Sometimes, finding an excellent prompt to feed PAI is intricate. There are several investments in prompt engineering to find the formula for good prompts. However, it is unfriendly to end-users. PAI serves on the table a prompt suggestion to assist you in choosing the best prompt. Just click the prompt suggestion and select your favorite outcome.
Parameter tweaking
PAI attached many options to allow users to personalize the output to their needs. Let’s walk through the meanings of such parameters.
Photo dimension
Adjust width and height options to define the desired dimension of generated art.
Steps
Generally speaking, the more steps you use, the better quality you’ll achieve. But you shouldn’t set steps as high as possible. It’s all about the results you are trying to achieve.
Recommendation: Use 25 steps set by default in PAI tools. Increase when you believe the quality is low.
Guidance scale
Simply described, the guidance scale (classifier-free guidance) is a parameter that determines how closely the image production process adheres to the text prompt. The greater the value, the more the image adheres to a specific text input.
However, this does not imply that the value should always be set to the highest possible value, as more guidance means less diversity and quality. The most ‘creative’ and ‘artistic’ outcomes are often produced around a guiding scale of 7. However, using a scale of up to 20 yields results with few to no artifacts.
Recommendation: Use the guidance scale’s default value of 7. When the created image does not follow the prompt, increase the value. Avoid the extremes of 1 and 30.
Seed
The seed in Stable Diffusion is a number that is used to begin the generation. There is no need to generate the number because it is generated at random when it is not provided. Controlling the seed, on the other hand, can assist you in creating reproducible images, experimenting with other variables, or prompting changes.
The most important component of seed is that generations with the same parameters, prompts, and seeds will produce similar images. As a result, we can generate a large number of identical images. Let’s look up some examples.
Style transfers
Choose a style that you are comfortable with. For example, the style “Pablo Piccasso” will add Picasso’s drawing style to the photo that you want to generate. Unfortunately, this feature is under construction and will be released soon 🙁 . At this time, to add style to your generated art, please add the style you want to prompts.
After You Create Your AI Artwork
Once your ai art is rendered, you have a range of options to expand on your work:
- You can share yours ai art on socials
- You can directly download the ai artwork in the initial size.
- You also have the option of Upscaling your ai art, should you need it.
- You can also publish your artwork to show off on your gallery profile. This will help expand your rapport in the community & get some love on your ai art!
- You can also evolve the work to further elaborate and expand on your rendered ai art.
- Waiting for our new release features to fulfill your experience
